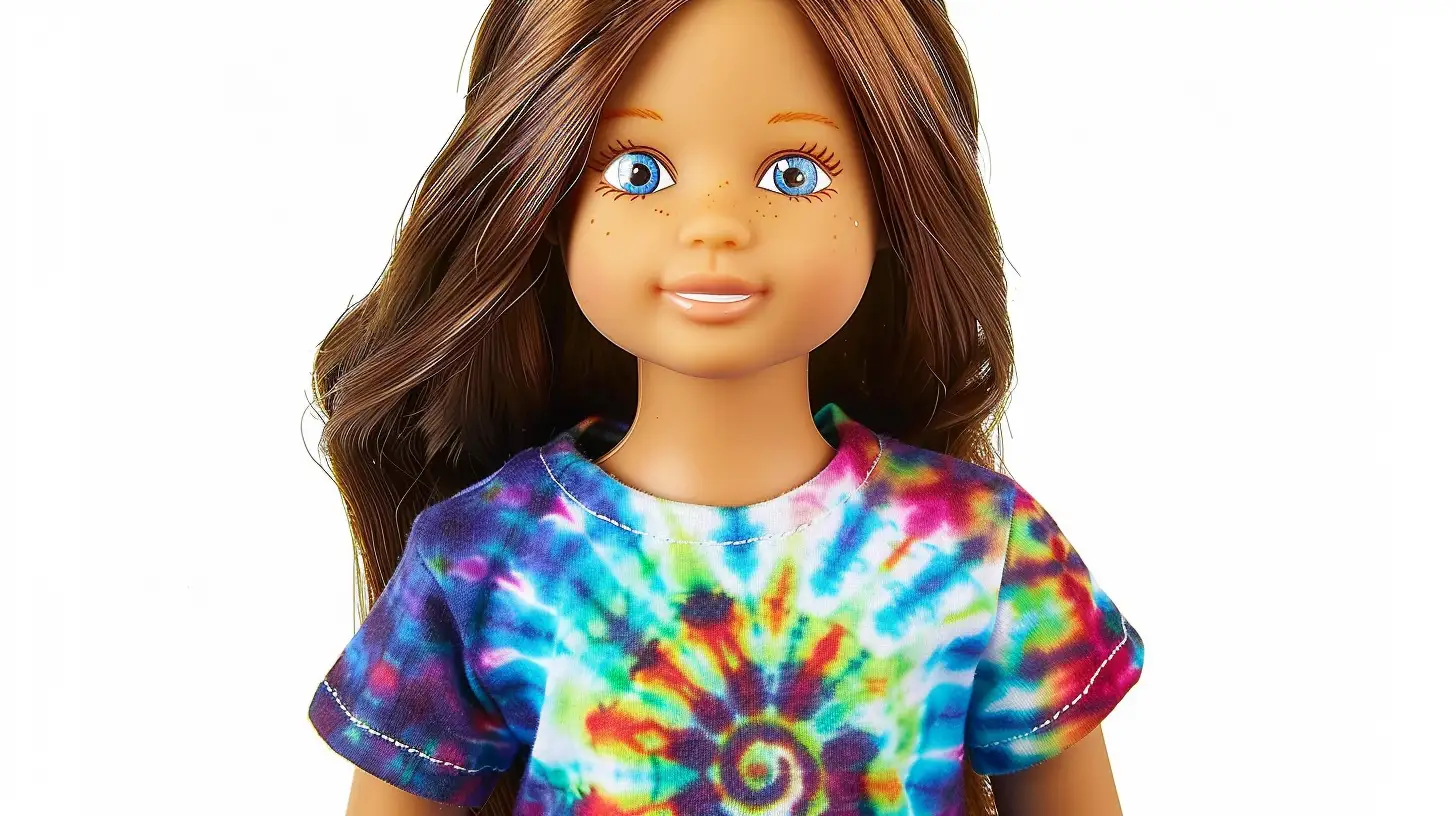
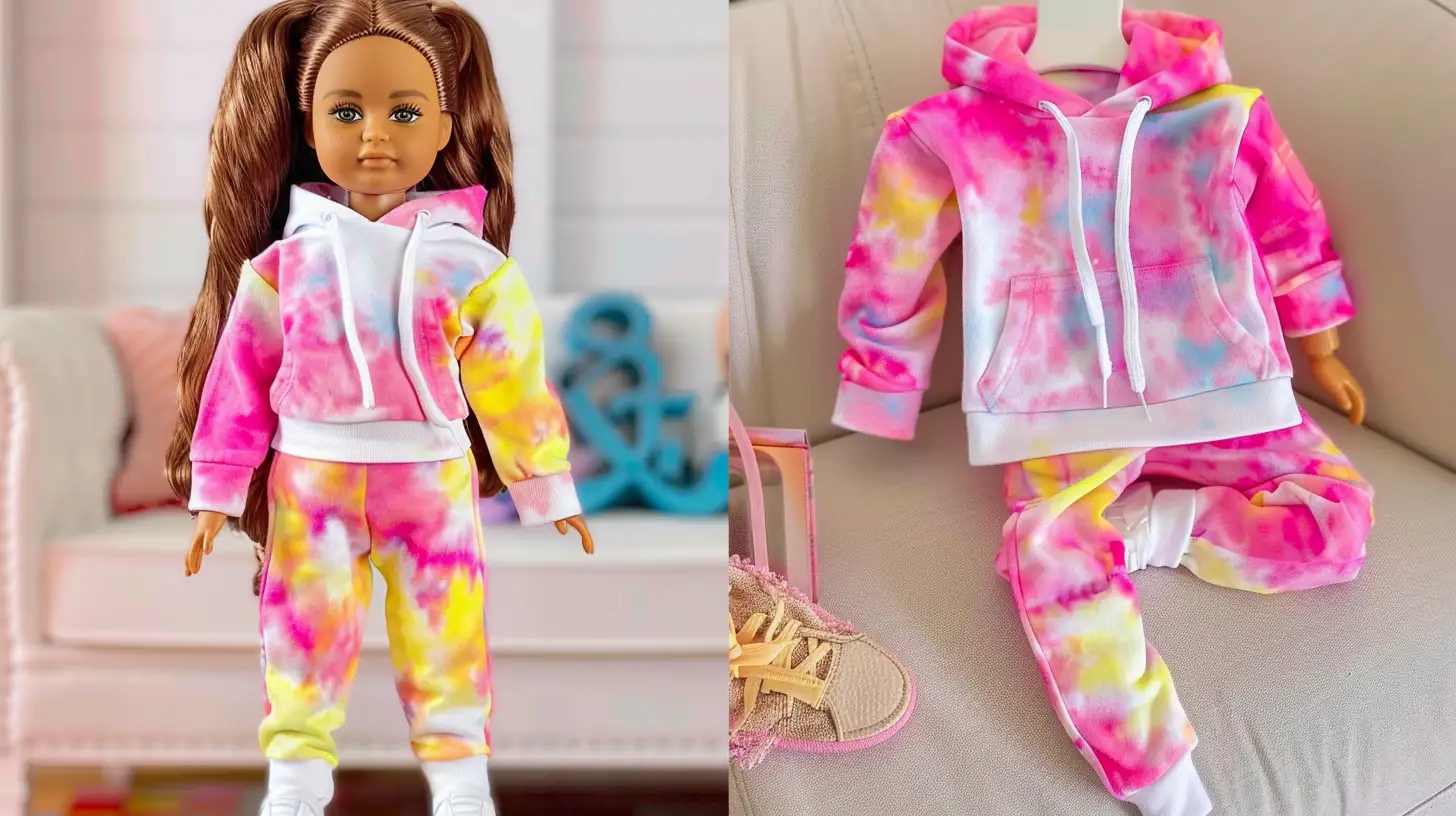
Dyeing doll clothes is a fun and creative way to personalize and revamp your doll’s wardrobe. Whether you want to update an old outfit or create a unique look for a special occasion, dyeing can add a pop of color and style to your doll’s ensemble, be it for Barbie or American Doll.
With the right materials and techniques, you can achieve vibrant and long-lasting results to make your doll stand out. This article will explore the step-by-step process of dyeing doll clothes, including the best dyes to use, preparation tips, and helpful tricks to ensure a successful and beautiful outcome.
Key Takeaways
- Wear protective gear, cover work surfaces, and ensure good ventilation to avoid accidents when dyeing doll clothes.
- For optimal results, choose the right dye type based on the fabric type of your doll clothes.
- Prepare doll clothes by rinsing, soaking, and gently agitating them to remove dirt and oils before dyeing.
- Experiment with different dyeing techniques, such as immersion, dip-dyeing, and tie-dye, to achieve unique effects on your doll clothes.
- Set the dye using heat, vinegar, or salt baths to ensure colorfastness and prevent fading of your newly dyed doll clothes.
Safety Precautions
Before you start dyeing doll clothes, ensure you’re prepared to protect yourself and your workspace from potential hazards. Wear old clothes, gloves, and goggles to prevent skin and eye irritation from excess dye.
Cover your work surface with newspaper or a plastic tablecloth to prevent stains. When working with dye, ensure the area is well-ventilated to avoid inhaling fumes.
Choosing the Right Dye
As you begin to dye your doll clothes, you’ll need to choose the right type of dye for the job. You have to decide between fabric dye, natural dye, and acrylic dye, each with its own strengths and weaknesses.
Types of Dyes
Choose the correct type of dye for your doll clothes, which means understanding the differences between fabric, natural, and acrylic.
Fabric dye, like Rit Dye, is a popular choice for synthetic fibers like polyester and nylon. It’s easy to use and produces vibrant colors.
On the other hand, natural dye is a great option for natural fibers like cotton and linen. It’s more eco-friendly, but the colors may not be as intense.
Acrylic dye is a type of fabric dye specifically designed for acrylic fibers. It’s important to choose the right type of dye for your doll clothes to ensure the best results.
Compatibility with Different Fabrics
When selecting a dye, consider the fabric content of your doll clothes. Different dyes react uniquely with various fibers, such as cotton, polyester, or acrylic.
For instance, if your doll’s dress is made of cotton or rayon, a fiber-reactive dye would be a good choice. However, if the fabric is a synthetic material like polyester, you’ll need a dye specifically designed for synthetic fibers.
Be cautious when dyeing blended fabrics, as the dye may affect each fiber type differently. Always read the dye instructions and perform a patch test to ensure the desired results.
Preparing the Clothes
Rinse the doll clothes in cold water to remove any finishes or sizings that might affect the dye. This step is crucial to ensure the dye adheres evenly and doesn’t stain unevenly.
Next, soak the doll clothes in warm water with a mild detergent to remove any dirt or oils that might interfere with the dye. Depending on how soiled they are, soak them for several hours or overnight.
After soaking, gently agitate the clothes to work the detergent into a lather. Rinse the clothes thoroughly to remove all soap residue.
Now, your doll clothes are ready for dyeing. Check the care label to ensure you’re using the right temperature water for the fabric.
How to Dye Doll Clothes: 3 Dyeing Techniques
 Now that you’ve prepared your doll clothes, it’s time to explore the world of dyeing techniques. You’ll discover three primary methods to achieve unique and stunning results: immersion dyeing, dip dyeing, and tie dyeing.
1. Immersion Dyeing
Immersion dyeing, a technique that involves fully submerging your doll clothes in a dye bath, will achieve the most consistent results. This method ensures even color distribution, making it perfect for achieving solid colors or subtle shades.
To begin, mix the dye with hot water in a well-ventilated area to create the liquid dye solution. Then, gently submerge your doll clothes into the dye bath, fully covering them. Let it sit for the recommended time, usually 30 minutes to an hour, depending on the dye instructions.
After the dyeing process, carefully rinse the clothes with cold water to remove excess dye and let them air dry to preserve the color.
2. Dip Dyeing
Dip dyeing is a technique that involves partially submerging your doll clothes in a dye bath. This method allows you to control the amount of dye absorbed, creating subtle gradations of color. You’ll achieve unique, multi-tonal effects and add visual interest to your doll’s wardrobe.
Mix liquid dye with vinegar to create the dye bath, and then carefully dip the fabric into the solution. You can experiment with different folding techniques to achieve varied patterns. Unlike tie-dye, dip dyeing produces softer, more blended transitions between colors.
Once you’ve achieved the desired effect, simply rinse and dry your doll clothes to reveal the beautiful results.
3. Tie Dyeing
As you twist, fold, and bind your doll clothes, you prepare them for a tie-dye adventure that will yield bold, graphic patterns and a unique, playful look.
To start, mix your dye with water according to the instructions, and then soak your bound doll clothes in the dye mixture. The areas you’ve twisted, folded, or bound will resist the dye, creating interesting patterns on your fabric.
After waiting the recommended time, rinse your doll clothes in cold water to reveal your unique tie-dye design. With a little patience and creativity, you’ll have a unique tie-dye outfit for your doll.
How to Set the Dye: Heat Setting, Vinegar, and Salt Baths

You’ll achieve vibrant, long-lasting colors by setting the dye with one of three methods: heat setting, vinegar, or salt baths.
Heat setting involves ironing the dyed fabric to fix the color, making it colorfast. This method is quick and easy, but avoid scorching the fabric.
The vinegar method involves soaking the dyed fabric in a vinegar bath. Vinegar helps to fix the dye and prevent fading.
Salt baths, on the other hand, help to lock in the color by reducing the pH level of the dye.
Care Instructions for Dyed Clothes
When washing dyed doll clothes, use cold water and mild detergent to prevent color bleeding and fabric damage. Wash doll clothes gently to maintain the vibrant colors you achieved with the dye.
To do this, wash the clothes in cold water until the water clears. Then, gently squeeze out excess water without wringing or twisting the fabric. Let the clothes dry naturally, away from direct sunlight and heat. Don’t put them in the dryer, as the heat can cause the dye to fade.
Troubleshooting Common Issues
When dyeing doll clothes, you’ll likely encounter some common issues that can be frustrating. But don’t worry, they’re easily fixable.
Uneven Dye Results
If you’re experiencing uneven dye results in your crafting projects, check if you’ve used excess water in the dye mixture. Too much water can dilute the dye, causing inconsistent color distribution.
You might also want to examine the fabric itself. Some fabrics absorb dye more evenly, so you may need to adjust your dyeing technique accordingly.
Also, ensure you’re not overcrowding the dye pot, as this can prevent the dye from penetrating the fabric evenly.
Fading Colors
If you notice that the colors on your doll clothes are fading faster than expected, it’s likely due to the type of dye or fabric you’re using. Some dyes may not be as colorfast as you’d like, causing the colors to bleed or fade quickly.
Similarly, certain fabrics can be prone to fading, especially if exposed to water or sunlight. To minimize fading, use cold water when washing your doll clothes, and avoid harsh detergents or bleach.
You can also try setting the colors with a vinegar rinse or using a color-protecting spray.
Conclusion
You’ve successfully dyed your doll clothes! Now, enjoy your uniquely colored outfits and take pride in your creativity.
Remember to care for your dyed clothes properly to maintain their vibrancy.
If issues arise, revisit the dyeing process, identify the problem, and make adjustments.
With practice and patience, you’ll master the art of dyeing doll clothes and create a one-of-a-kind wardrobe for your miniature friends.
FAQs
Can I dye doll clothes made of different fabric types together?
When combining fabrics, you’ll face varying dye absorption rates. You’re taking a risk dyeing different fabrics together, as some might bleed or fade more than others, affecting the overall result.
Will dyeing doll clothes affect their ability to be washed?
Yes, it can. As dyeing may alter the fabric’s water resistance or shrinkage, test a small area first to ensure the best results.
Can I use natural dyes like beets or turmeric in doll clothes?
You can experiment with natural dyes like beets or turmeric. But be aware they might not be as colorfast as commercial dyes, and the results might vary depending on the fabric type and mordant used.
How long does the dyeing process typically take for doll clothes?
When dyeing fabrics, you’ll typically spend 30 minutes to an hour preparing and mixing the dye and 1-2 hours waiting for the dye to set, depending on the method and fabric type.
Can I iron doll clothes after dying to remove wrinkles?
Yes, you can iron doll clothes to remove wrinkles. But use a low heat setting and a pressing cloth to avoid scorching the fabric or damaging the dye.
